#10 - Modelling - Derelict Town
This is the first stage of creating my derelict town for the weekly task. The very first thing I did once my file was prepared was to create a cube and then reshape it to be a 300 by 300 flat square. This will be the ground, to place the roads on and also keep everything level. I then created another cube, 50 by 60 by 25 tall, and placed it near a corner of the ground square. This cuboid is my garage. To hollow out the inside of the cuboid I created another cuboid which was 5 units smaller on each dimension, then placed it inside the original cube. I used the boolean difference tool to cut this shape out of the original cuboid, making a hollow block with walls about 5 units thick. I then used another smaller cuboid to cut a door shape out of the front of the garage, to create an entrance, and also a means of seeing the details inside the model.
I then used the multi-cut tool for the first time to cut a shape out of one side of the building to make it look like a large object had crashed through it, or an explosion had torn it out. There was a problem with the inner wall edges, as I had extruded the top face of the garage leaving them lower down. I pulled these edges up, then used the multi-cut tool to create a similarly shaped hole to make it appear as though the trajectory of the object hitting the garage had been at such an angle that the inner wall was cut deeper.
The multi-cut tool was very useful for creating the hole in the roof. I would otherwise have spent hours creating a hole shaped object then using the boolean tool to remove it from the garage roof. Looking at it, it might have been better to take more time making sure the cuts on the inner and outer walls were in the exact same place, perhaps with the soft selection tool. Or even delete the inner walls altogether, but that would have been equally unrealistic. However, the hole looks reasonably realistically shaped, and I'm happy with the crashing object story behind it (which just about makes sense).

To create windows, I originally planned to add a connection between the top of the door and the roof, then move it across to create a rectangle inside which I could add divisions, however for some unknown reason Maya kept freezing when I tried to do this. So, my alternative was to create a window sized cuboid and use the boolean tool to cut part-way through the first wall. Before using the boolean tool, I duplicated the cuboid I had for the window shaped and moved it across to the right side of the garage, to keep it symmetrical. I then cut both sides out using the boolean tool, and extruded the faces back to leave a ledge. I used the add divisions tool to create a 3x3 cross-section in each window, then dragged the edges together to give it panels in the middle of the 'glass'. The glass in this case was simply deleting the faces so you can see inside the building. I also selected the inner faces of the windows (which were also the walls) and used the bevel tool on them Not a lot happened, there were some extra edges and a little bit of thickness, but for now they look better anyway so I'll leave them.
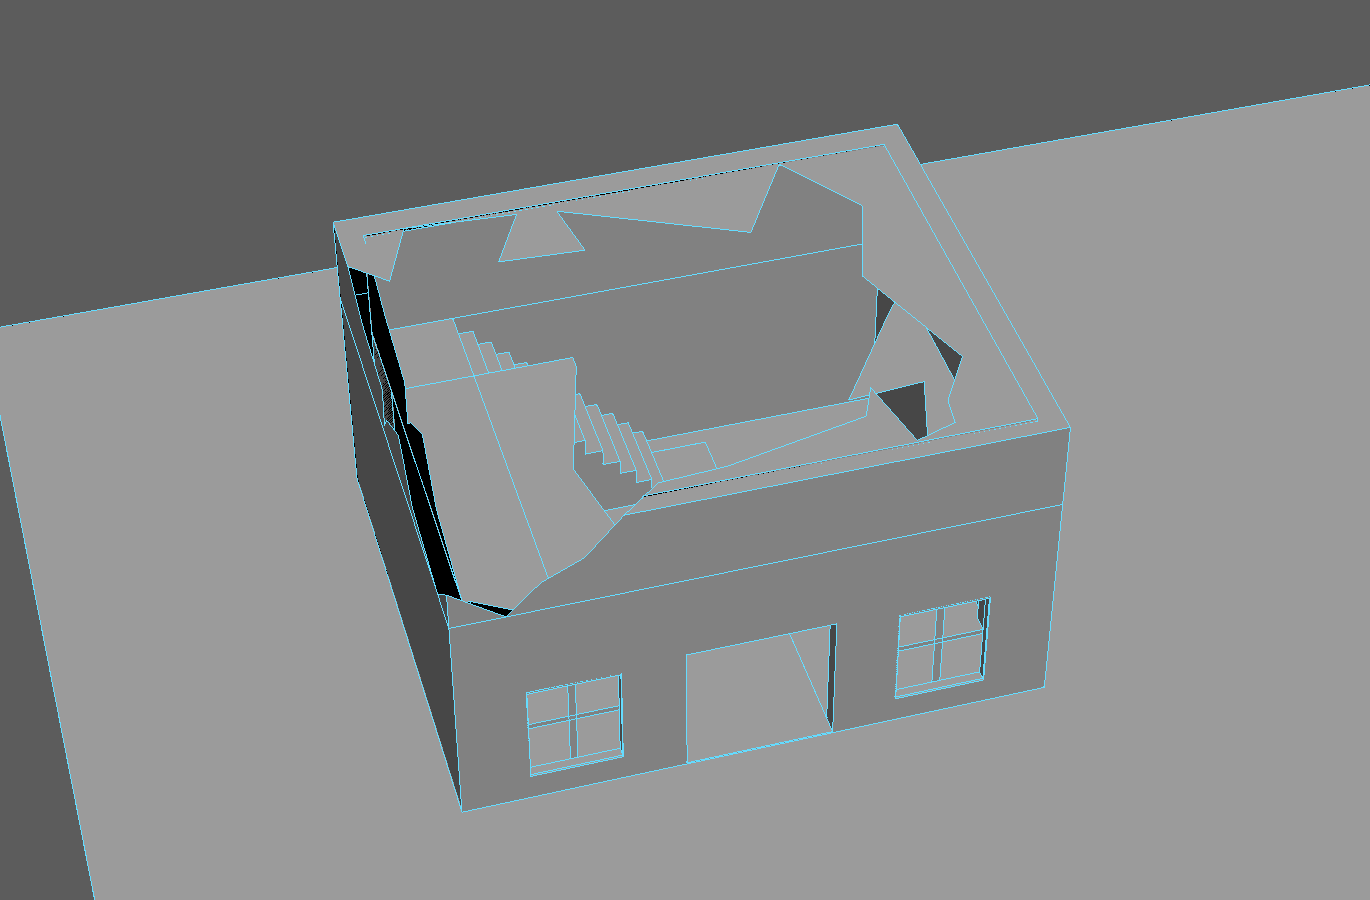
Once that was finished I used the multi-cut tool to create a staircase shape on the back wall, then extruded that into the building to create a staircase. Then, using the edge of the square at the top of the staircase, I extruded the surface out towards the door, then across to the other side of the room to create a floor. Using the multi-cut tool again I cut out a random hole to make it look as if the object mentioned above also crashed through the first floor. For now, the garage building is finished and I will move on to the surrounding scenery.


Comments
Post a Comment